Getting Started
Here is a step-by-step guide to setting up your first project with ResearchKit or CareKit.
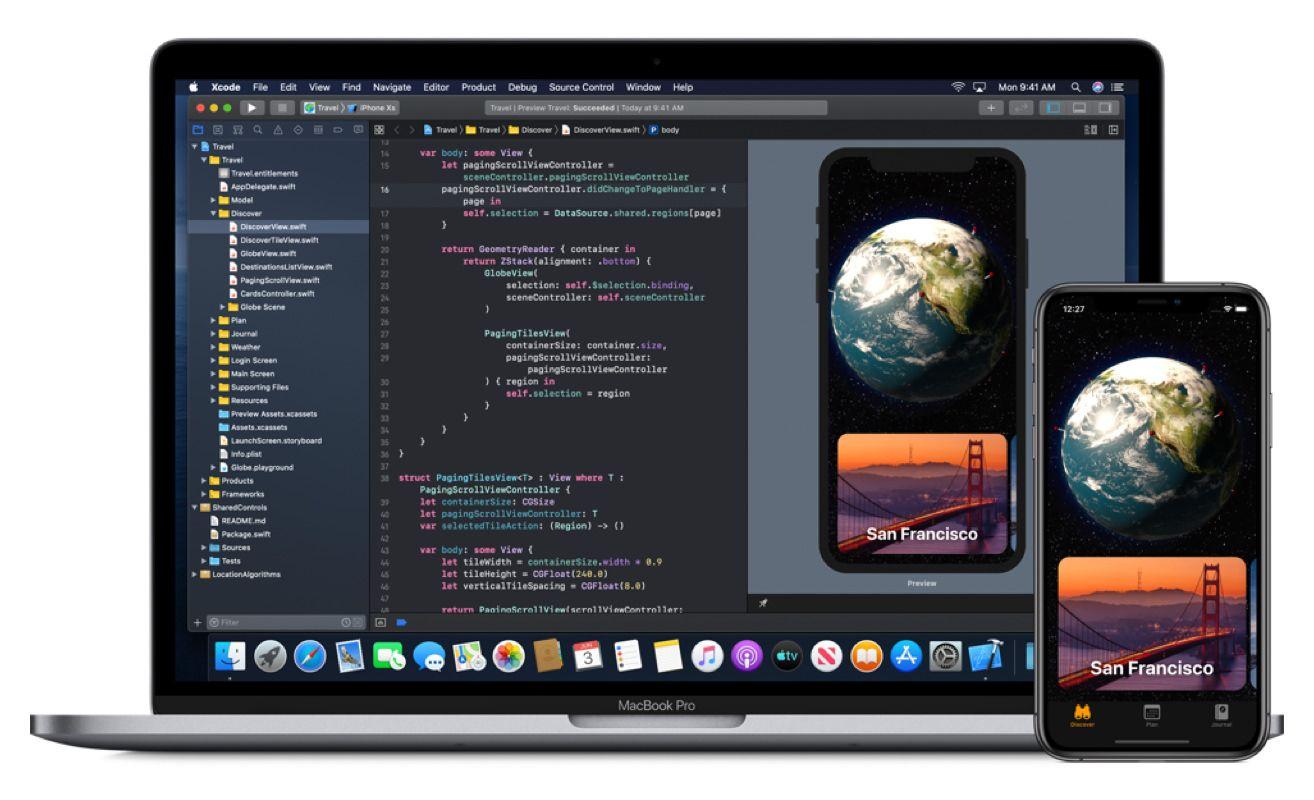
1. Install Xcode
To make iOS Apps, all you need is Xcode. Xcode is the official IDE (integrated development environment) for all Apple platforms: Mac, iPhone, iPod touch, iPad, Apple TV, and Apple Watch.
As described by the Mac App Store, “Xcode provides developers a unified workflow for user interface design, coding, testing, and debugging.”
You will need a Mac computer to build your ResearchKit or CareKit app, because Xcode is only available for OS X. Xcode provides an iPhone simulator that runs directly on your computer, so an iPhone is not required.
The easiest way to install Xcode is to download it from the Mac App Store. This is quite a large piece of software (more than 4 GB), so it might take some time. Alternatively, you can download the installer, as well as beta versions for upcoming releases, directly from the Apple developer website.
Xcode gets updated several times a year, and it’s generally advised to keep up with the latest version. You can find out more about Xcode with the online documentation.
2. Create an app project
An app is structured by an “Xcode project,” which will organize all the necessary files: configuration, source code, assets, libraries, etc.
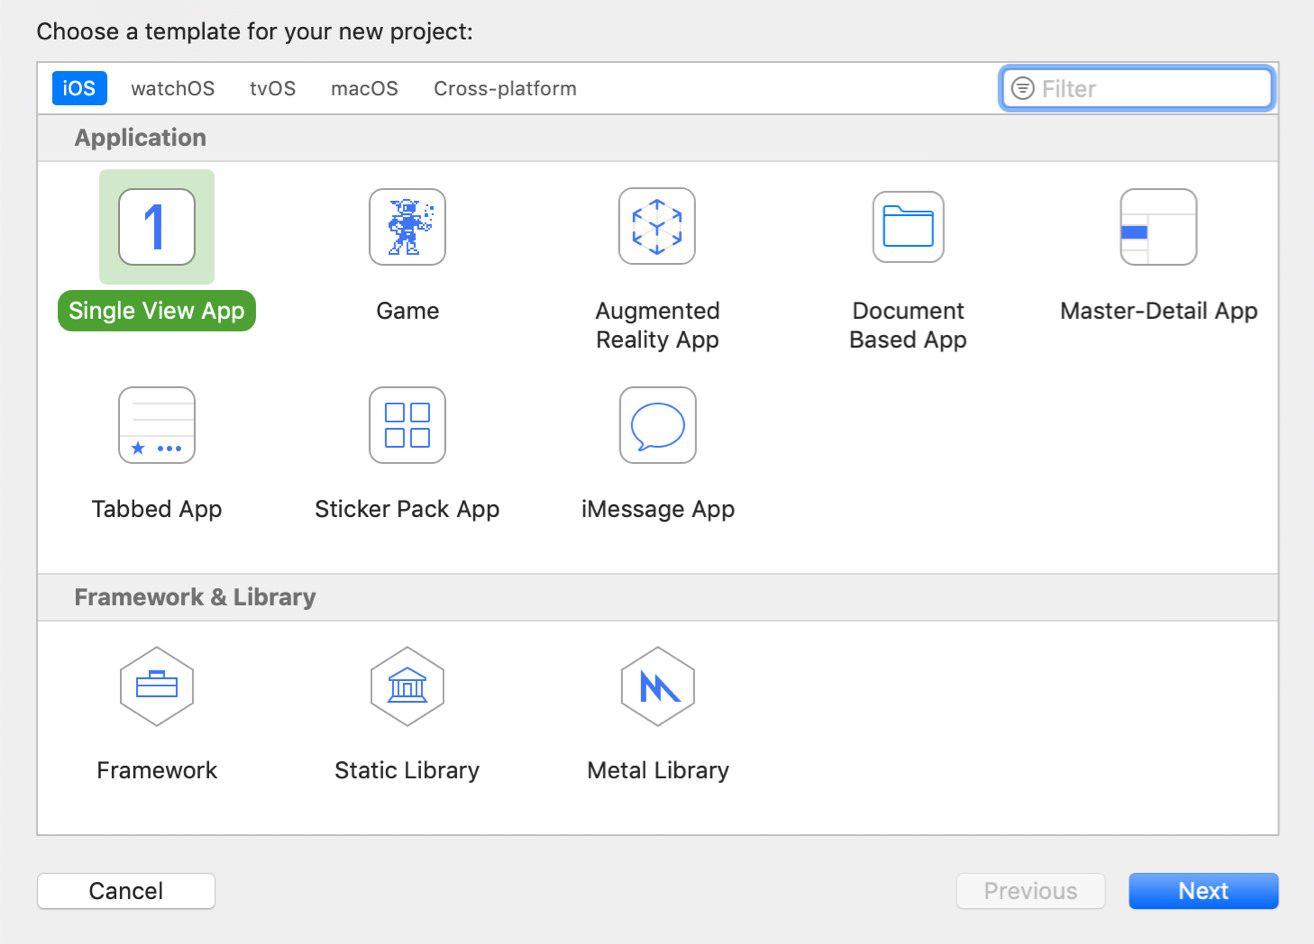
Xcode offers different project templates, based on the type of app you want to make. Since there is no ResearchKit or CareKit template, select a generic template, and then import the framework later.
To create a new project, open Xcode, then click on “File” → “New” → “Project.” A window will appear to let you choose one of the existing templates.
Once you make your selection, you will need to set a couple parameters, beginning with your project’s name.
The name for your product also becomes the name for your app. You can certainly change the name of your app later, but since Xcode will use this name to create folders and configuration files, this could potentially be a complex undertaking.
It’s recommended to settle on a product name before you begin to avoid complication later.
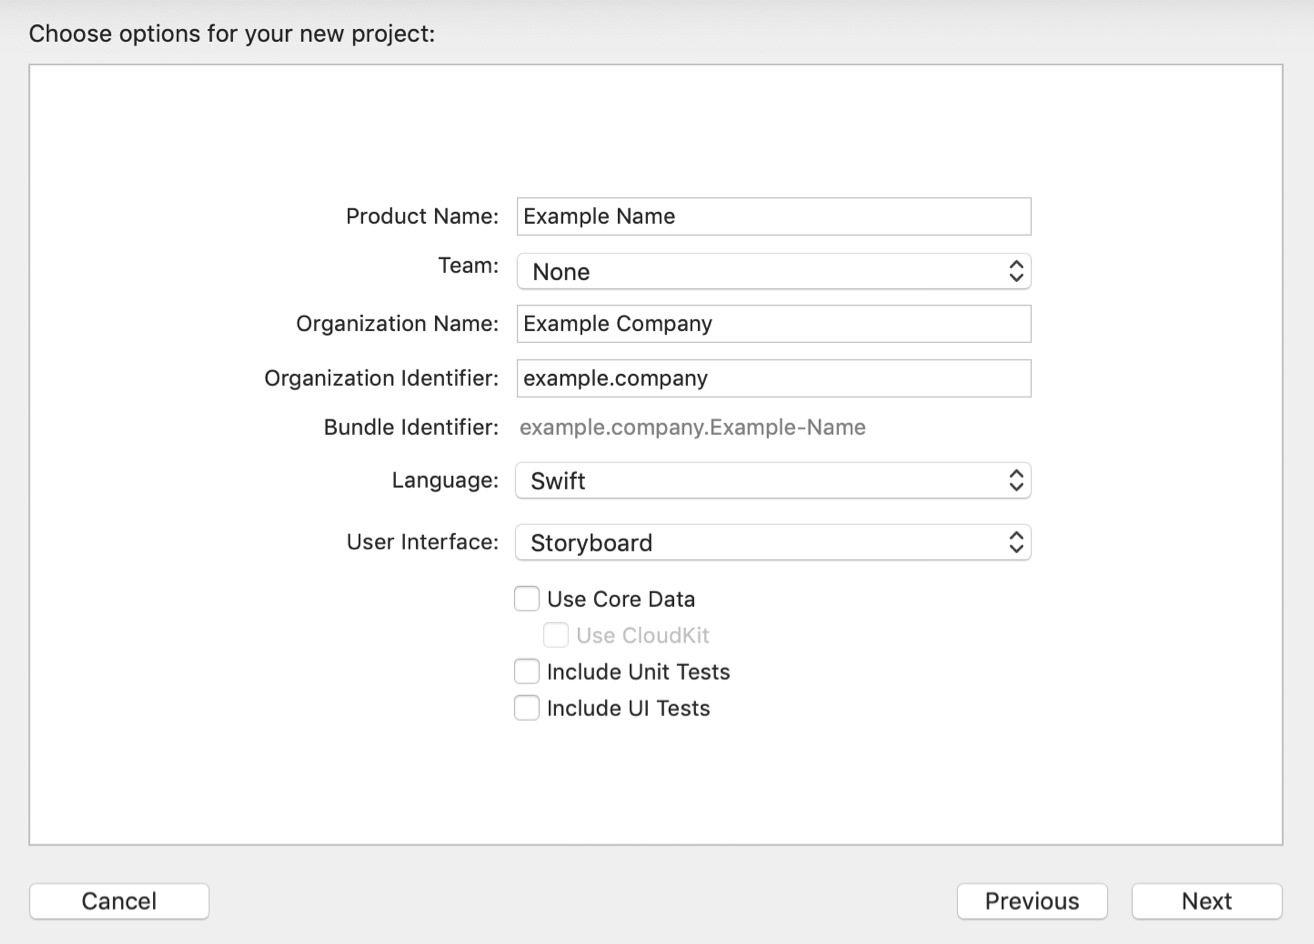
The Organization Name however, can be easily changed, and is mostly used for self-documentation purposes. This could be the name of your research group, laboratory, or university.
The Organization Identifier, combined with the “Product Name” makes the “Bundle Identifier” This is used to make sure that every app is uniquely identifiable. A “reversed URL” is typically used to ensure ownership. The internet domain or root of the website address reversed theoretically guarantees that you will be the only one to use this identifier.
Language gives you only two choices: Objective-C or Swift. Unless you are already familiar with Objective-C, we recommend selecting Swift.
The remaining settings are not important for setup. “Core Data” is an advanced framework for object representation and data persistence. “Unit Tests” are pieces of software that can help you make sure an app is always working as expected. “UI Tests” are extended unit tests capable of checking the behavior of an app from the perspective of its user interface.
After clicking on “Next” you will need to choose a location for your project. Then click on “Create” and your project is here.
See the continued steps below to link to the ResearchKit project. To learn how to link to CareKit, check out the detailed instructions on the developer documentation page.
3. Download ResearchKit
ResearchKit is hosted on GitHub, a web service that makes it easy for people to share source code and collaborate with others.
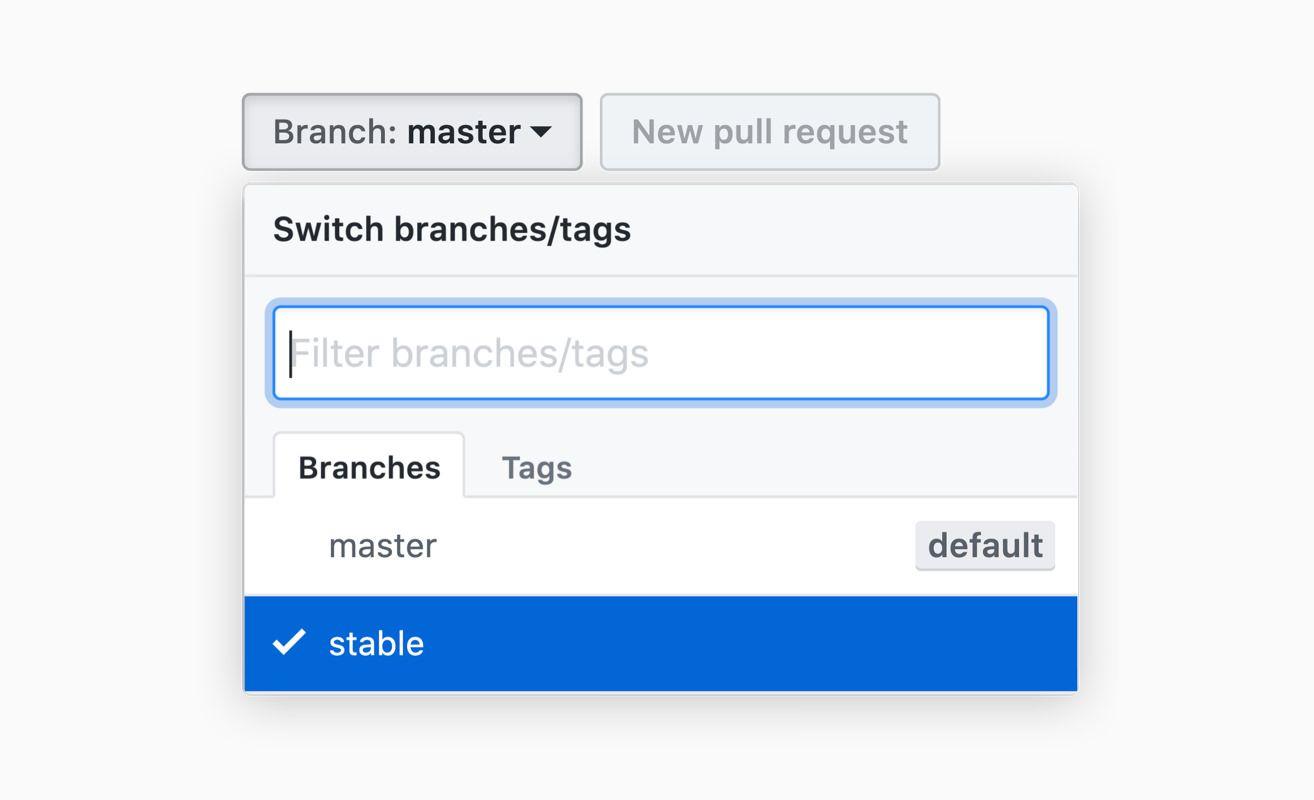
Simply download the ResearchKit source code by pressing “Download ZIP” from the “Clone or download” drop down.

You can choose to download the latest master branch, which includes all of the latest code, or you can select the stable branch, which is the last official release and has been fully tested by QA, localization, and accessibility.
4. Configure ResearchKit
You will then need to configure your app project to include ResearchKit as a “framework.”
First, you will need to drag-and-drop the ResearchKit project from your downloads folder into your main app project. That means you are going to have a project inside another project. From the downloaded zip file, take the “ResearchKit.xcodeproj” from the ResearchKit folder and drop it into the project “Navigator” area (the column on the left) under your project name. In this case, we have dropped it under the “Example Name.”
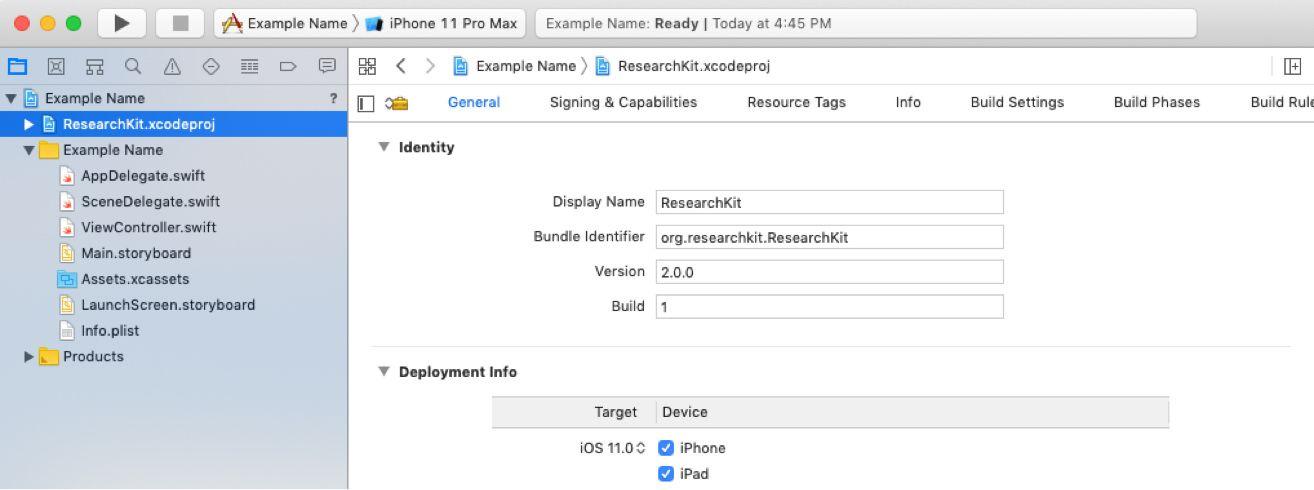
Then click on your project from the Navigator to display the project settings. At the bottom of the “General” tab, you will find a “Framework, Libraries, and Content” section. Click on the “+” button, and select “ResearchKit.framework.” This will automatically add ResearchKit to your project.
Now every time you ask Xcode to build your app, it will first compile the “ResearchKit framework” and add it to your app package. It also means that you will be able to call ResearchKit classes when you write the code for your app.

5. Build project
Once you have completed the previous steps you can test to make sure the project is working as expected.
Your app already has “app delegate,” as part of the default Xcode template (“AppDelegate.swift” for Swift, “AppDelegate.h” and “AppDelegate.m” for Objective-C). At the top of this source file, add the “import” command:
Swift import ResearchKit
Objective-C #import <ResearchKit/ResearchKit.h>
You will now be able to click the “Build and Run” button (the “▶”build and run icon in the toolbar, also available from the keyboard with ⌘R). If everything is properly set up, Xcode will build your app, and then start it with the iPhone Simulator.